
Children are naturally curious. They love to explore, imitate, and do things on their own—especially activities that adults do every day, like pouring water or serving themselves.
That’s why pouring activities hold such a special place in Montessori learning.
These simple, hands-on exercises not only capture a child’s attention but also play a vital role in developing coordination, focus, and independence.
At Dannico Woodworks, we believe that a child’s environment should inspire independence and learning through everyday moments.
Introducing Montessori-style pouring activities at home is one of the easiest and most rewarding ways to do that—and it starts with the right setup, materials, and mindset.
Pouring activities in the Montessori method are more than just transferring liquids from one container to another.
They are carefully designed to enhance a child's development in multiple ways.
By engaging in these activities, children learn:
- Fine Motor Skills: Handling a pitcher or spoon requires coordination and control, which strengthens the muscles in a child's hands and fingers.
- Concentration: Pouring demands focus and attention to detail, encouraging children to concentrate on the task at hand.
- Independence: Mastering the art of pouring empowers children to perform daily tasks on their own, boosting their self-confidence.
- Problem-Solving: As children learn to pour without spilling, they develop critical thinking skills and learn from trial and error.
Preparing the Environment for Montessori Pouring Activities
Before introducing pouring activities, it's crucial to set up a conducive environment. This involves selecting the right materials and creating a space that encourages exploration and learning.
Choosing the Right Materials
- Pitchers and Containers: Select child-sized pitchers and containers that are easy for little hands to grip. Materials like glass or ceramic are ideal, but plastic can be used for beginners.
- Trays and Mats: Use trays to contain spills and mats to define the workspace, making clean-up easier and helping children understand boundaries.
- Variety of Substances: Start with dry materials like rice or beans before progressing to liquids. This gradual approach builds confidence and skill.
Setting Up the Space
Designate a specific area for pouring activities, ensuring it is at the child's level. A small table or countertop is ideal. Keep the space uncluttered and organized, providing easy access to materials.
 Step-by-Step Guide to Introducing Pouring Activities
Step 1: Demonstrate the Activity
Begin by demonstrating the pouring activity yourself. Use slow, deliberate movements to model the correct technique.
Speak clearly and concisely, explaining each step as you go. This demonstration provides a visual guide for the child to follow.
Step 2: Encourage the Child to Try
Invite the child to attempt the activity. Offer gentle guidance and encouragement, allowing them to explore and experiment.
It's important to be patient and understanding, as mistakes and spills are part of the learning process.
Step 3: Progress Gradually
As the child becomes more proficient, introduce more complex tasks. Begin with dry materials and gradually transition to liquids.
Offer a variety of containers and pouring tools to keep the activity engaging and challenging.
Step 4: Incorporate Practical Life Skills
Pouring activities can be integrated into everyday tasks, such as setting the table or watering plants.
This reinforces the child's skills in real-life contexts and highlights the practical applications of their learning.
Tips for Success in Montessori Pouring Activities
- Be Patient: Children learn at their own pace. Encourage them to take their time and enjoy the process.
- Embrace Mistakes: Spills are an opportunity for learning. Teach children how to clean up and encourage them to try again.
- Celebrate Achievements: Acknowledge the child's efforts and progress, reinforcing their sense of accomplishment.
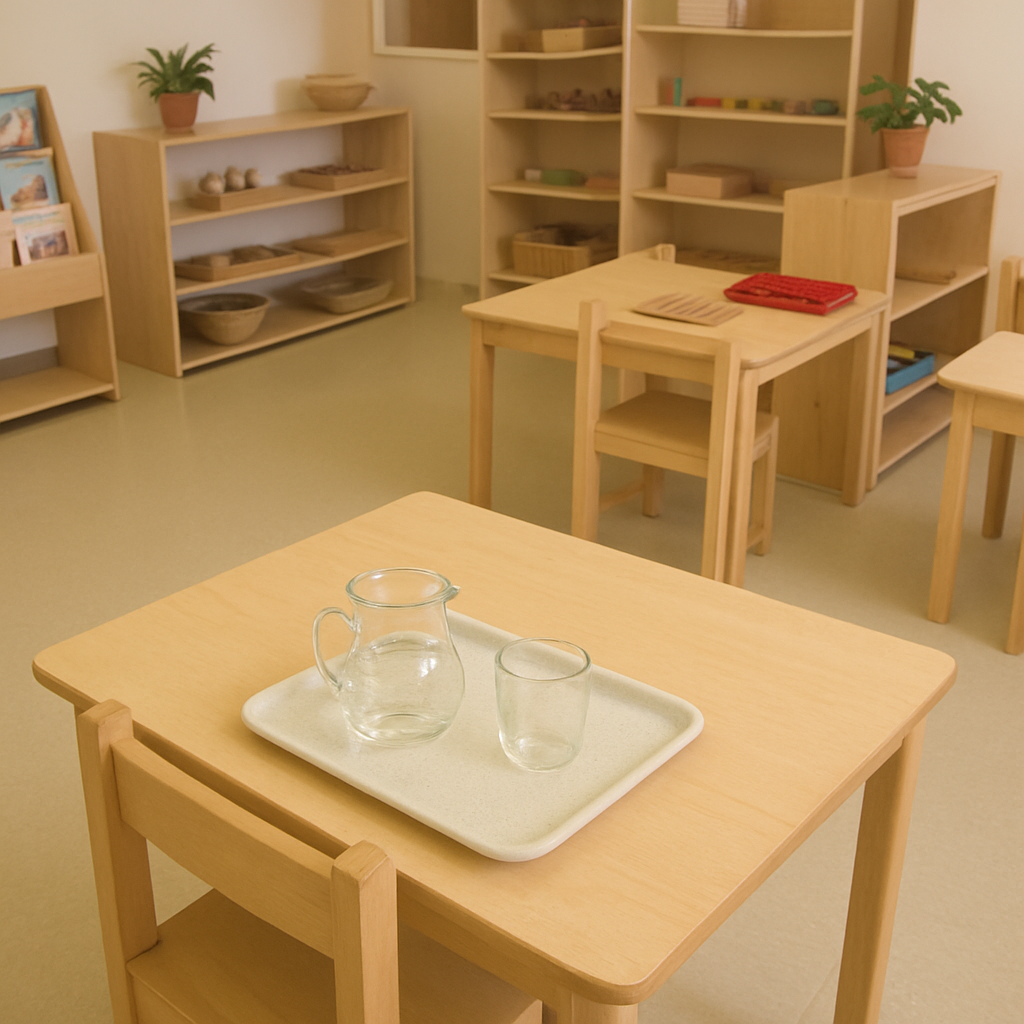
Setting Up Pouring Activities at Home
Creating a Montessori-inspired pouring station doesn’t require a classroom setup—just thoughtful preparation.
Here’s what you’ll need:
Materials:
-
Two small glass or ceramic pitchers (avoid plastic where possible)
-
A wooden tray
-
A towel or sponge
-
Dry materials (rice, beans, or pasta)
-
Water (for later stages)
Furniture:
A child-sized table or shelf makes all the difference. It allows your child to engage comfortably and independently.
You can browse thoughtfully designed pieces from Dannico Woodworks that complement Montessori activities beautifully—crafted to last, with safety and style in mind.
Explore our Montessori Furniture Collection to find functional designs perfect for practical life learning at home.
Montessori Tips for Success
-
Keep it consistent: Repetition builds mastery. Encourage your child to practice daily.
-
Limit distractions: Keep screens and noise away during activity time.
-
Follow their lead: If your child shows interest, add challenges. If not, take a break and revisit later.
-
Respect the process: Allow spills, mistakes, and slow progress—they’re all part of the learning journey.
Common Questions About Montessori Pouring Activities
At what age should I introduce pouring activities?
You can start as early as 2 years old, using dry materials and small containers. Always supervise closely, especially when introducing liquids.
Do I need special Montessori materials?
Not necessarily. Everyday household items work fine—as long as they’re child-sized and safe. The key is independence, not expensive tools.
How long should each session last?
Let your child decide. Some might engage for just a few minutes, while others can pour and transfer for much longer. Follow their attention span.
What if my child gets frustrated?
Stay calm and supportive. Offer to demonstrate again, or suggest switching to a simpler version. Encouragement, not pressure, keeps the experience positive.
Can pouring activities really help my child’s development?
Absolutely. Beyond coordination, these tasks teach patience, sequencing, and confidence—skills that support all areas of learning.
Bringing It All Together
Introducing pouring activities the Montessori way is a simple yet powerful way to nurture your child’s independence and coordination.
With the right tools, setup, and mindset, you can turn everyday moments into meaningful learning experiences.
At Dannico Woodworks, we design furniture that supports exactly this kind of growth—functional, safe, and beautiful pieces that empower your child to explore and learn at their own pace.
Explore our Montessori Bookshelf Collection and other handcrafted designs that make creating a child-centered environment effortless.
Because when children have the right space and tools, learning flows naturally.
What everyday task will you invite your child to explore next?
