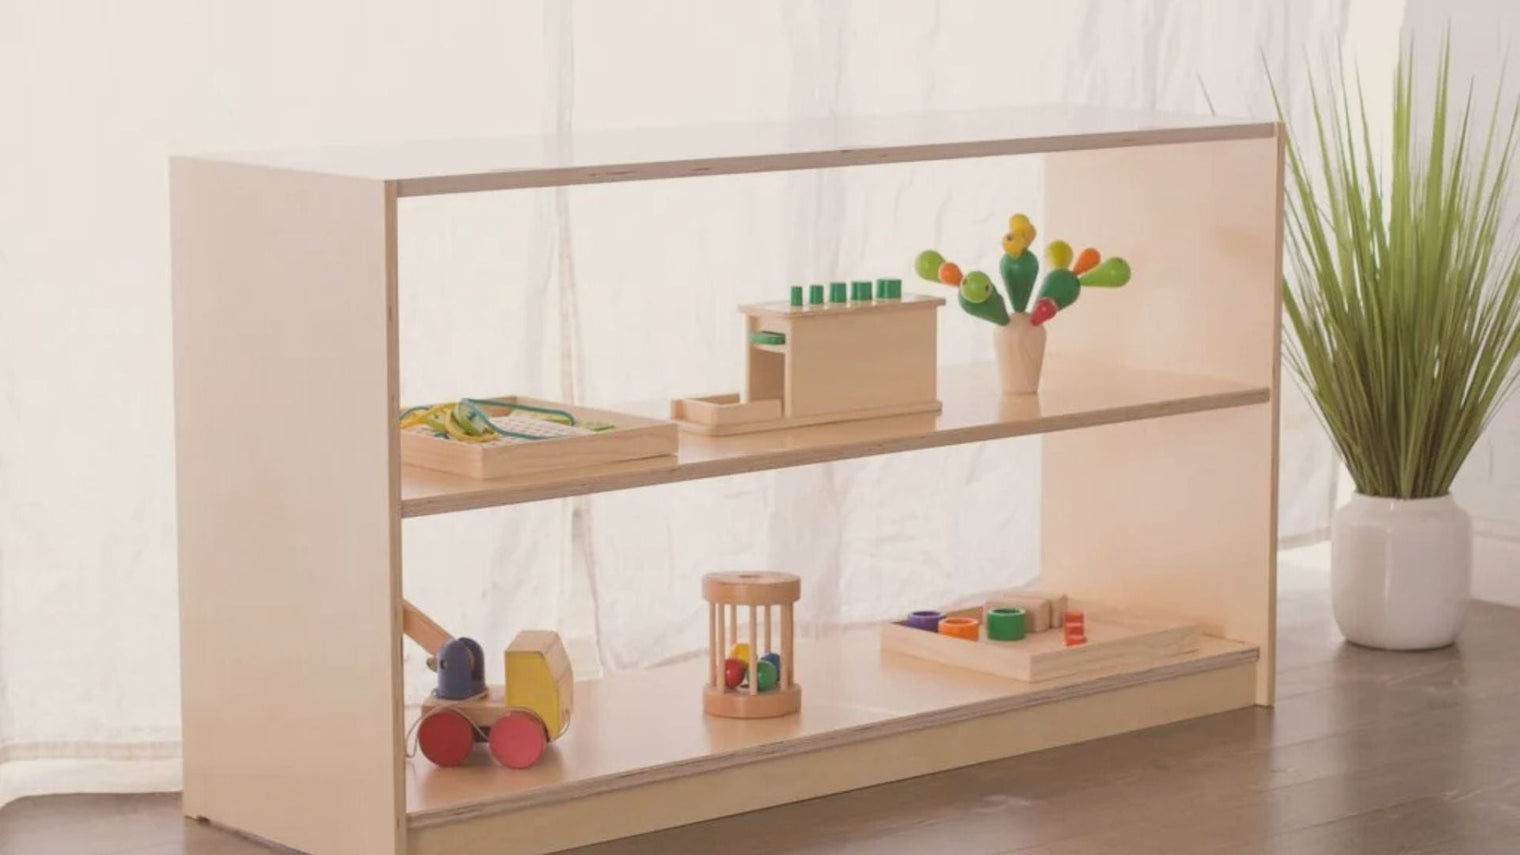
Creating a home environment that encourages independence and creativity in children doesn’t have to cost a fortune.
Montessori-inspired furniture, especially toy shelves, is designed to give kids the freedom to choose and organize their toys in a way that fosters responsibility and self-confidence.
The challenge? Montessori furniture can sometimes come with a hefty price tag.
The good news is that with a little creativity, you can build your own DIY Montessori toy shelf using affordable IKEA products. It’s simple, budget-friendly, and completely customizable to suit your space.
In this guide, we’ll walk you through the process step by step, share tips to keep costs low, and show you how to make a functional shelf that your child will love.
Selecting the Right IKEA Products
IKEA offers a variety of products that can be repurposed into a Montessori toy shelf. Here are a few options that are popular among DIY enthusiasts:
IKEA KALLAX Series
The KALLAX series is a versatile choice. Its cube storage system is perfect for creating a low, accessible shelf that fits Montessori principles.
You can use it horizontally to maintain the child-friendly height and add baskets or bins for organizing toys.
IKEA TROFAST System
The TROFAST system is another excellent choice. It offers a combination of frame and boxes, allowing for flexible storage solutions. The bins can be easily pulled out and replaced, making it ideal for young children.
IKEA LACK Shelves
For a simpler project, consider using LACK shelves. These can be mounted at a low height on the wall, providing an open display for toys. However, ensure that they are securely anchored to prevent accidents.
 Steps to Build Your DIY Montessori Toy Shelf
Creating a Montessori toy shelf is a straightforward process. Here’s a step-by-step guide to help you build one using IKEA products:
Step 1: Gather Your Materials
- IKEA furniture: Choose from the KALLAX, TROFAST, or LACK series based on your preference.
- Tools: You'll need a screwdriver, level, measuring tape, and possibly a drill.
- Accessories: Consider adding baskets, bins, or trays for better organization.
Step 2: Assemble the Furniture
Follow the instructions provided by IKEA to assemble your chosen furniture. Ensure that everything is securely fastened and sturdy. If you're using the KALLAX or TROFAST, consider arranging them horizontally to keep the shelf at a child-friendly height.
Step 3: Secure the Shelf
If you opt for wall-mounted LACK shelves, ensure they are securely anchored to prevent tipping. For freestanding units like KALLAX or TROFAST, use brackets to anchor them to the wall for added stability.
Step 4: Organize the Toys
Use baskets or bins to categorize toys. This not only helps in maintaining order but also teaches children about sorting and organizing.
Labeling the baskets can be a fun project with your child and further enhances their learning experience.
Step 5: Personalize the Space
Make the toy shelf inviting by personalizing it with your child’s artwork or decorative elements. This can make the space feel more like their own, encouraging them to take care of it.

Tips for Maintaining a Montessori Toy Shelf
- Rotate Toys Regularly: Keep the selection fresh by rotating toys. This keeps children engaged and reduces clutter.
- Encourage Responsibility: Teach children to return toys to their designated spots after playtime. This fosters responsibility and care for their belongings.
- Keep It Minimal: Avoid overcrowding the shelves. A few well-chosen toys can spark creativity more than an overwhelming selection.
Benefits of a DIY Montessori Toy Shelf
Creating a Montessori toy shelf isn't just about organizing toys; it's about creating a learning environment. Here are some benefits:
- Fosters Independence: Children can easily access and choose their toys, fostering decision-making and independence.
- Encourages Organization: By having a designated spot for each toy, children learn the importance of tidiness and organization.
- Supports Development: The accessibility of toys and materials supports cognitive and motor skills development.
FAQs
Do I really need a Montessori-specific shelf?
Not necessarily. What matters most is accessibility and simplicity. As long as toys are organized, visible, and within your child’s reach, you’re already practicing Montessori principles.
Can I use IKEA shelves without modification?
Yes! Many parents use KALLAX or TROFAST as-is. Small tweaks like adding baskets, trays, or paint are optional.
What’s the best height for a Montessori toy shelf?
Generally, keep shelves under 24 inches tall for toddlers. For older kids, you can go slightly higher, but always ensure toys are easy to reach.
How many toys should I put on the shelf?
6–8 toys is a good number. Too many options can overwhelm children, while fewer encourages focus and creativity.
Are DIY shelves safe for toddlers?
Yes, as long as they’re sturdy and anchored when necessary. Avoid sharp edges, and stick to baskets and trays that kids can handle safely.
Conclusion
Building your own Montessori toy shelf with IKEA products is a smart, affordable, and rewarding project.
It not only saves money but also gives you the flexibility to design a child-centered space that encourages independence and creativity.
At Dannico Woodworks, we believe in creating environments where kids can thrive, whether through thoughtfully crafted furniture or inspiring DIY projects like this one.
If you’d rather skip the DIY route, our handcrafted shelves are designed with the same Montessori principles—safe, durable, and made to grow with your child.
Would you try building your own DIY Montessori toy shelf, or would you prefer investing in a handcrafted version built to last?

